 First 5 Notes
Tuba Fingering Chart
Every note from low E to high F (written E1 to F3). 26 notes, each with its staff notation and its fingering. Free to view, no sign-in.
New players: start with the five notes marked First 5.
Notes are shown as written for tuba. Concert pitch (bass clef): sounds as written.
Every note from low E to high F (written E1 to F3). 26 notes, each with its staff notation and its fingering. Free to view, no sign-in. Notes are shown as written for tuba. Concert pitch (bass clef): sounds as written.
Teachers: you may print and copy this chart for your students.
Pick any note, play it, and the page tells you if you got it. Nothing is recorded.
How to read the chart
- A filled circle means press that valve. An open circle means leave it up.
- Notes marked First 5 are the five the learning path starts with.
A filled circle means press that valve. An open circle means leave it up. Notes marked First 5 are the five the learning path starts with.
Tuba notes, low to high
E1
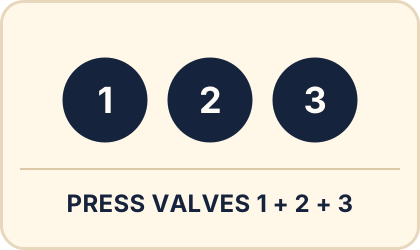

Valves 1 + 2 + 3
Check itStep by step
- Press all three valves. Huge, slow air.
F1
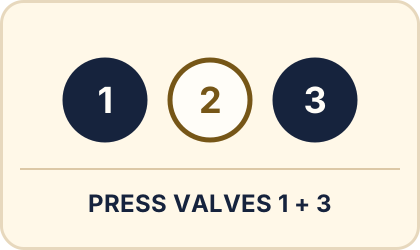

Valves 1 + 3
Check itStep by step
- Press the first and third valves.
F♯1
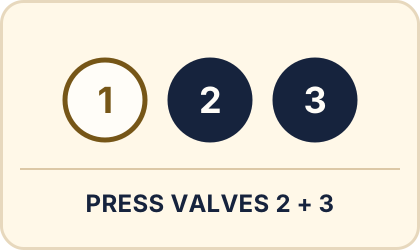

Valves 2 + 3
F-sharp 1. Also written G♭1 (G-flat 1).
Check itStep by step
- Press the second and third valves.
G1
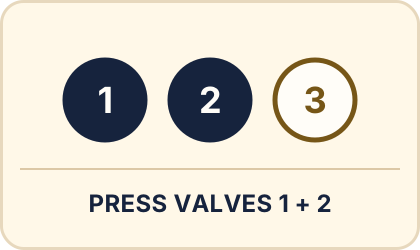

Valves 1 + 2
Check itStep by step
- Press the first and second valves.
A♭1
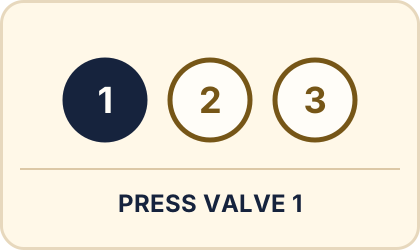

Valve 1
A-flat 1. Also written G♯1 (G-sharp 1).
Check itStep by step
- Press the first valve.
A1
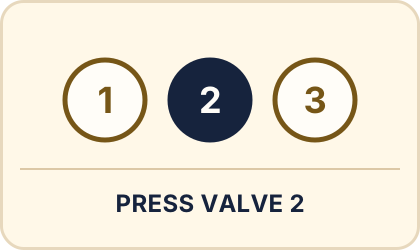

Valve 2
Check itStep by step
- Press the second valve.
B♭1
First 5
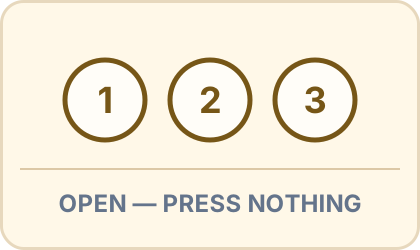

Open (no valves)
B-flat 1. Also written A♯1 (A-sharp 1).
Check itStep by step
- No valves pressed. Big, slow, warm air.
B1
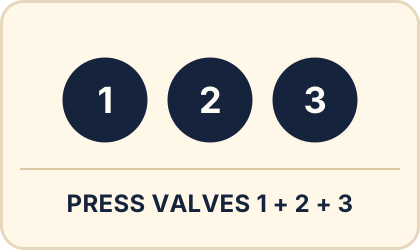
Valves 1 + 2 + 3
Check itStep by step
- Press all three valves.
C2
First 5
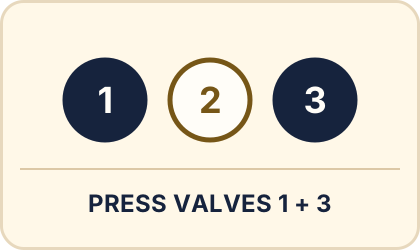
Valves 1 + 3
Check itStep by step
- Press the first and third valves.
D♭2
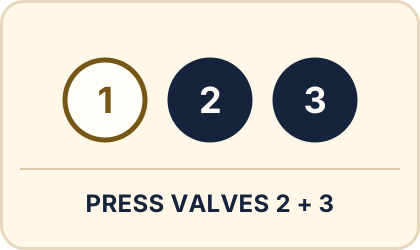
Valves 2 + 3
D-flat 2. Also written C♯2 (C-sharp 2).
Check itStep by step
- Press the second and third valves.
D2
First 5
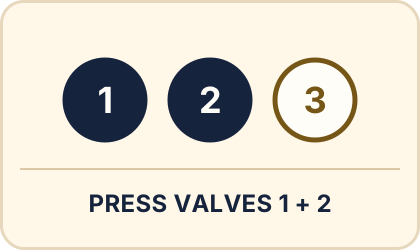
Valves 1 + 2
Check itStep by step
- Press the first and second valves.
E♭2
First 5
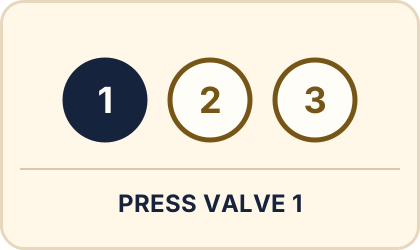
Valve 1
E-flat 2. Also written D♯2 (D-sharp 2).
Check itStep by step
- Press the first valve only.
E2
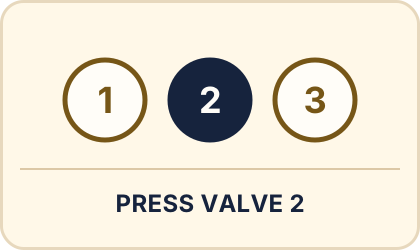
Valve 2
Check itStep by step
- Press the second valve.
F2
First 5
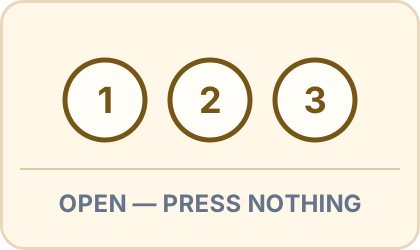
Open (no valves)
Check itStep by step
- No valves pressed - slightly faster air than low B♭.
F♯2
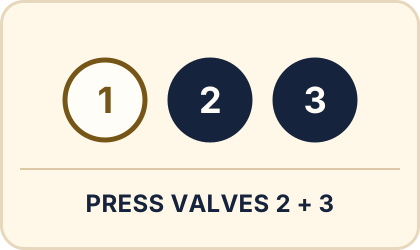
Valves 2 + 3
F-sharp 2. Also written G♭2 (G-flat 2).
Check itStep by step
- Press the second and third valves.
G2
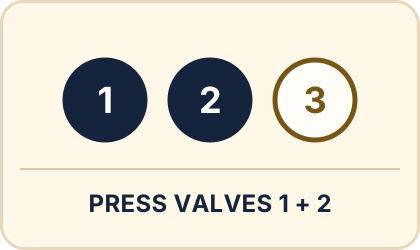
Valves 1 + 2
Check itStep by step
- Press the first and second valves.
A♭2
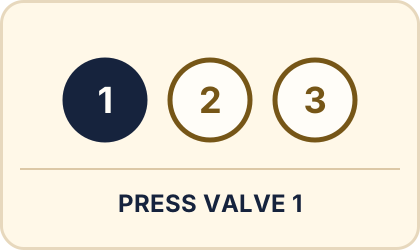
Valve 1
A-flat 2. Also written G♯2 (G-sharp 2).
Check itStep by step
- Press the first valve.
A2
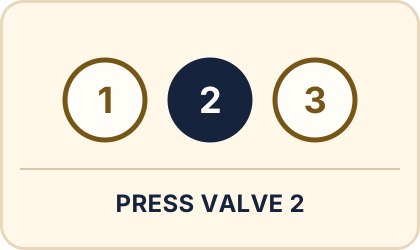
Valve 2
Check itStep by step
- Press the second valve.
B♭2
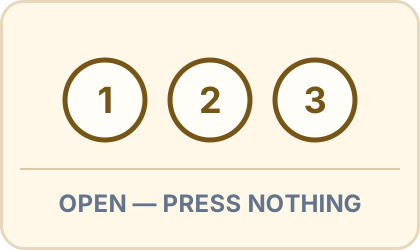
Open (no valves)
B-flat 2. Also written A♯2 (A-sharp 2).
Check itStep by step
- No valves - a higher partial than low B♭.
B2
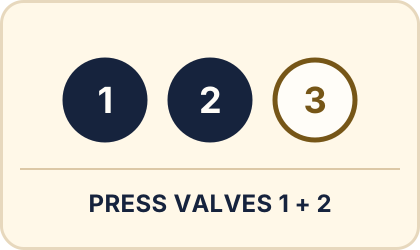
Valves 1 + 2
Check itStep by step
- Press the first and second valves.
C3
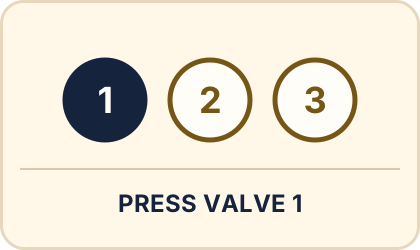
Valve 1
Check itStep by step
- Press the first valve.
D♭3
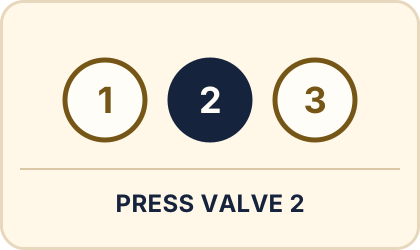
Valve 2
D-flat 3. Also written C♯3 (C-sharp 3).
Check itStep by step
- Press the second valve.
D3
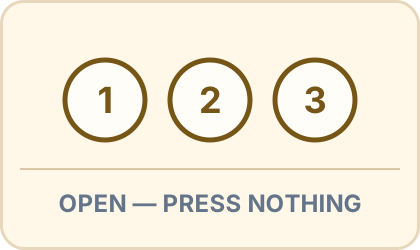
Open (no valves)
Check itStep by step
- No valves - D sits on the open partial.
E♭3
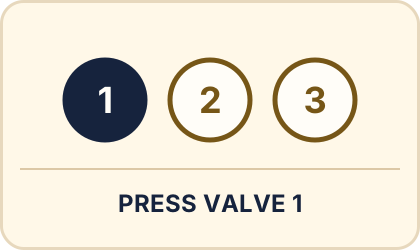
Valve 1
E-flat 3. Also written D♯3 (D-sharp 3).
Check itStep by step
- Press the first valve.
E3
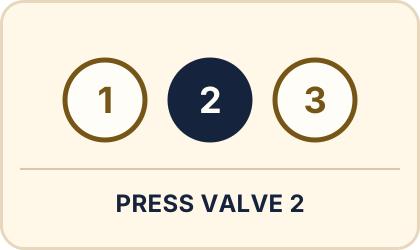
Valve 2
Check itStep by step
- Press the second valve.
F3
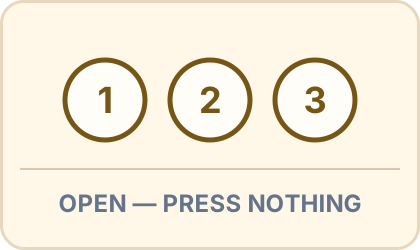
Open (no valves)
Check itStep by step
- No valves - faster air than the B♭ below.
Practice these notes
The tuba learning path takes these notes a few at a time: name the note, find the fingering, then play it into the microphone. The first five notes are free to practice, with no account. The microphone only listens while you play, and nothing is recorded.
Start the tuba learning pathMore charts
- Alto Saxophone fingering chart
- Baritone (Bass Clef) fingering chart
- Baritone (Treble Clef) fingering chart
- Baritone Saxophone fingering chart
- Bass Clarinet fingering chart
- Bassoon fingering chart
- Bells (Low Octave) note chart
- Bells note chart
- Clarinet fingering chart
- Flute fingering chart
- French Horn fingering chart
- Oboe fingering chart
- Tenor Saxophone fingering chart
- Trombone slide position chart
- Trumpet fingering chart